Faculty DCU
The Data Collection Utility (DCU) is a direct window to the database that the scheduling team uses to create the schedule. It is a powerful tool to see the parameters of the upcoming semester and will allow you to assign Faculty members to classes, view availability, view calendars for departments, courses, sections, and/or faculty members.
Log into DCU
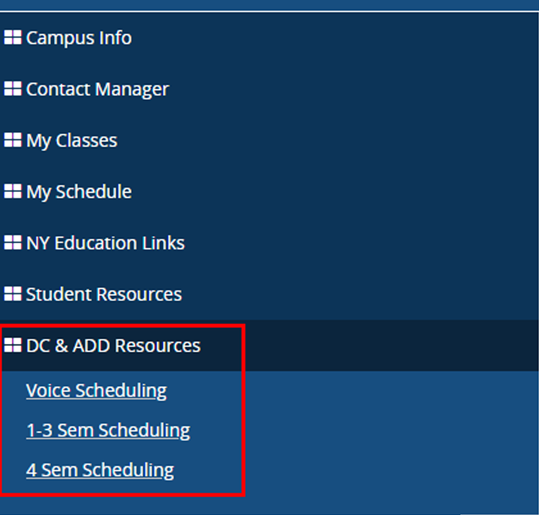
- Log into the Faculty Portal at portal.amda.edu and navigating to Faculty Portal Homepage.
- Once logged in navigate to DC & ADD Resources and select the option that pertains to your situation.
- Note: You will need to Allow pop ups on your browser for the DCU to launch.
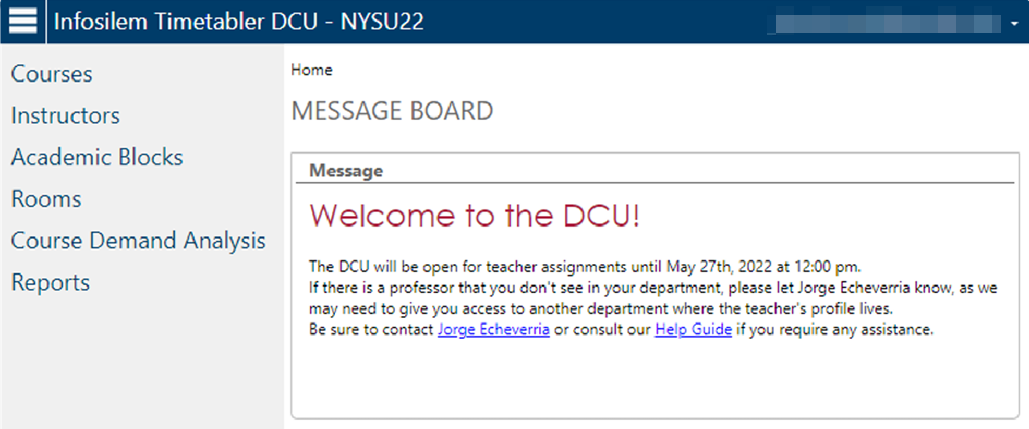
- After logging into the DCU you will first see the Message Board, Important messages and updates will be posted here so be sure to read this.
Adding Professors to Courses
- After logging into the DCU you will first see the Message Board, Important messages and updates will be posted here so be sure to read this.
- On the left hand side, select Courses
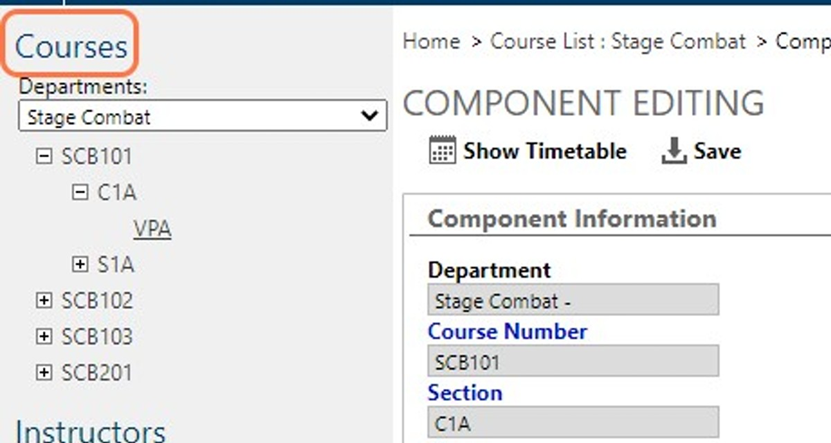
- A drop down menu will appear; here you will select the department you are assigning professors to.
Once you select the department, the dropdown menu will expand and the course codes will display below. We cannot change this to display titles instead of codes so Click here for a reference of the course titles according to their codes.
Depending on the access you have, you might see some options in black and some in red. The ones in black you will be able to edit, the ones in red are view only.
You will also see some departments with the word “PROF” at the end. These are the departments where the professors’ profiles live, so we won’t use them in this option. Instead, select the ones without the work 6PROF6.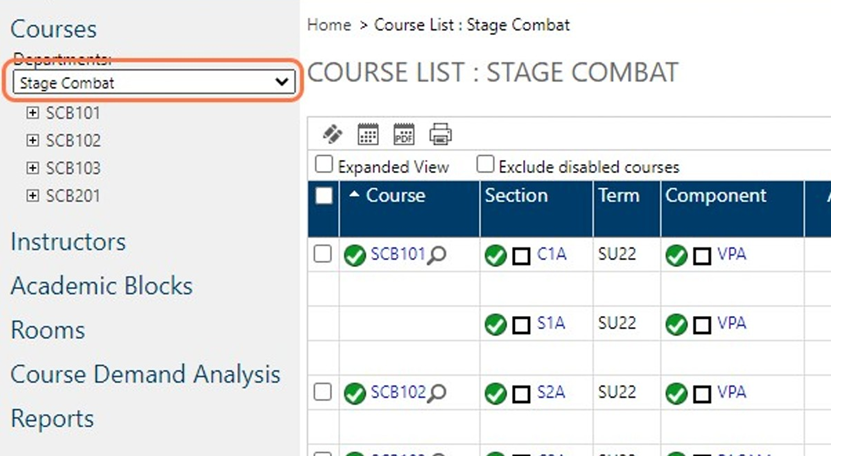
- Click on the Component: Classes may have more than one component, depending on the type of rooms they will need. All components need to be opened one-by-one to assign teachers to all components. Some of the components you will see are: VPA, In Person PA, In Person PC, PACAM

- Go to the delivery section and select the first delivery:
Pay attention to how many tabs you have here. There will be as many deliveries as times a class meets per week within the type of component you are looking at. This will also have to be done one-by-one.
Failing to assign teachers to each delivery will result in a teacher not being able to see the full schedule on their Portal.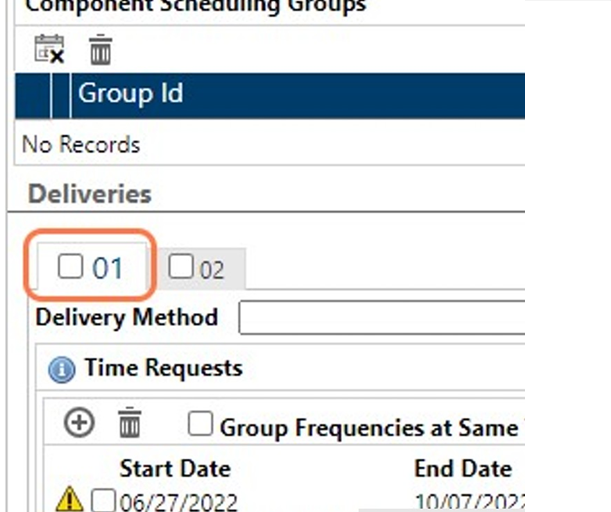
- Scroll down to the Instructors section. Click on Add.
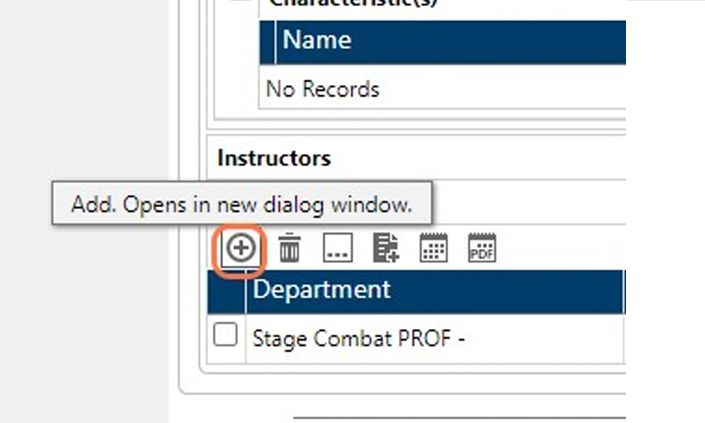
- On the drop down menu of the window that popped up, select the department ending in PROF.
Selecting the department that does not say PROF at the end won’t display the professors.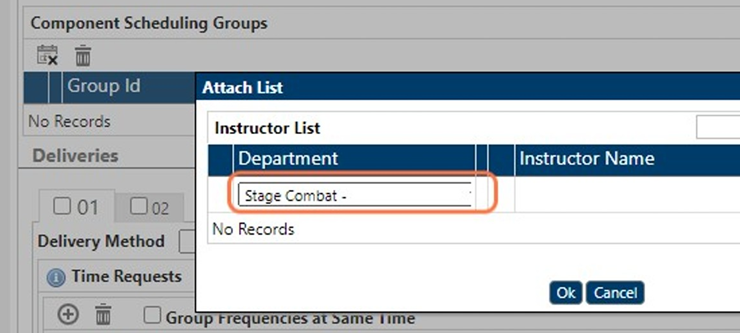
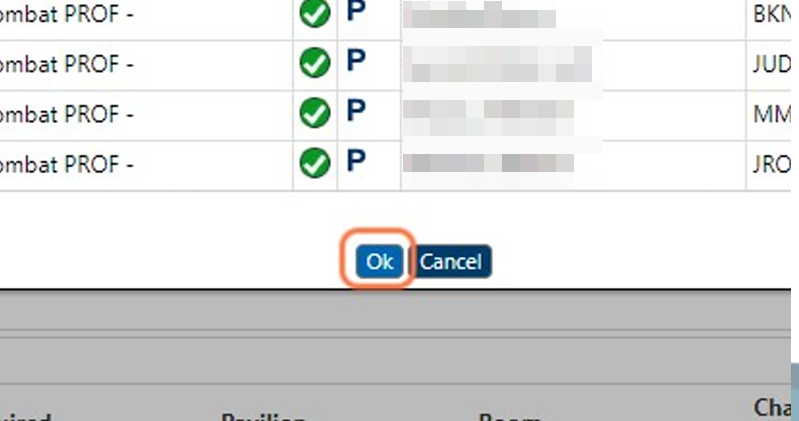
- Check the instructor you want to assign to this section you are working on.
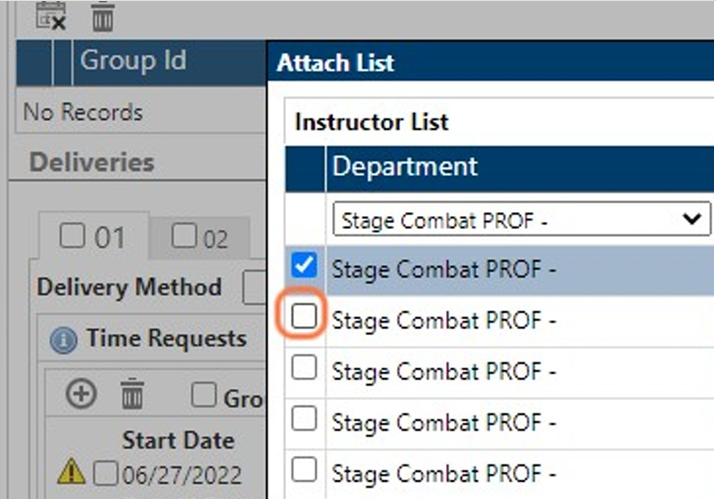
- Click Ok.
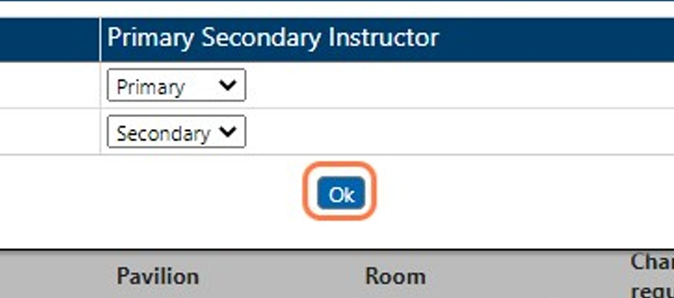
- Select a Primary or Secondary Instructor option.
This is a crucial step because this is what will give different permissions in Canvas and Campus Vue. The Primary teacher is the one who will “own” the Canvas course and will have the availability to input attendance. The Secondary teacher has access to Canvas but cannot enter attendance. So for example:
Accompanists: They will always be secondary professors.
Stage combat: There will be one Primary teacher and one or more Secondary.
Dance for Camera: One Primary teacher and one Secondary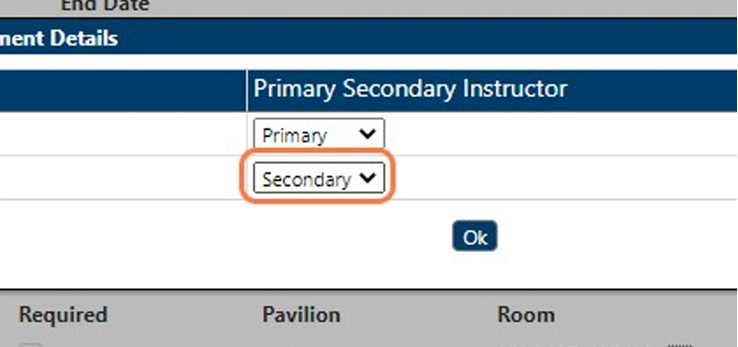
- Click Ok
- Go to the Delivery section again and select the next delivery:
Repeat steps 5 to 11 with Delivery no. 2.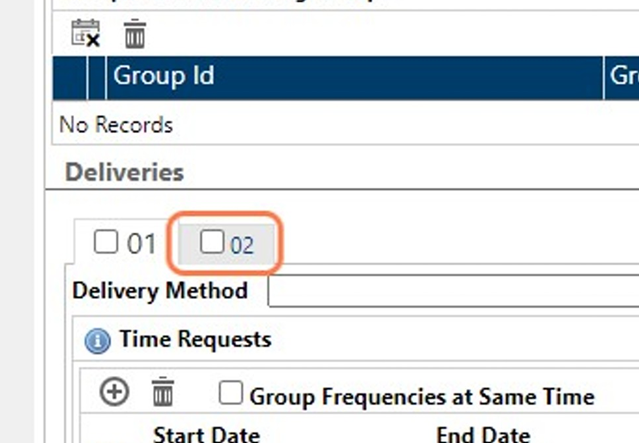
- When you are done with the assignment of this section, on the upper right side click Done.
This will help us determine which classes have been assigned and which ones are still pending.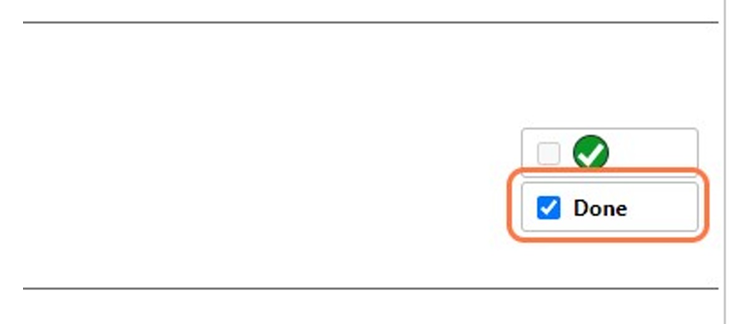
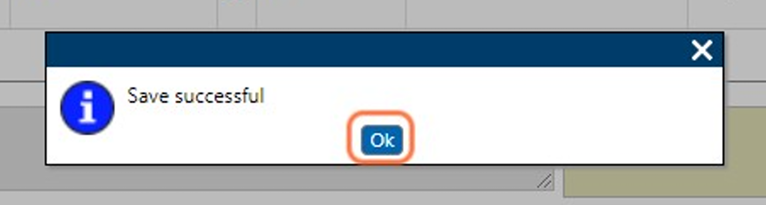
- Click on Save.

- It will let you know that it saved your work successfully.

Adding Courses to Professors
- After logging into the DCU you will first see the Message Board, Important messages and updates will be posted here so be sure to read this.
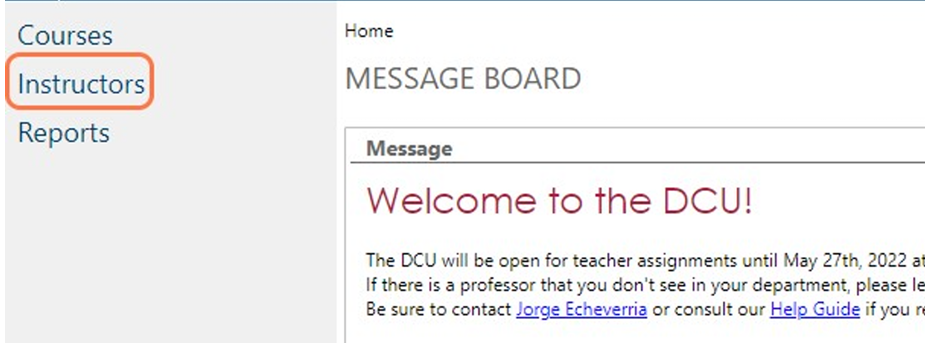
- On the left hand side, select Instructors.
- A drop down menu will appear here you will select the department you are assigning professors to.
You will see some departments with the word “PROF” at the end. These are the departments where the professors’ profiles live, so this is the one we want to select. The ones that do not include “PROF” in the title, are where the courses live, so nothing will show up if you select this option.
Once you select the department, the dropdown menu will expand and the names of the professors will display below.
Depending on the access you have, you might see some options in black and some in red. The ones in black you will be able to edit, the ones in red are view only.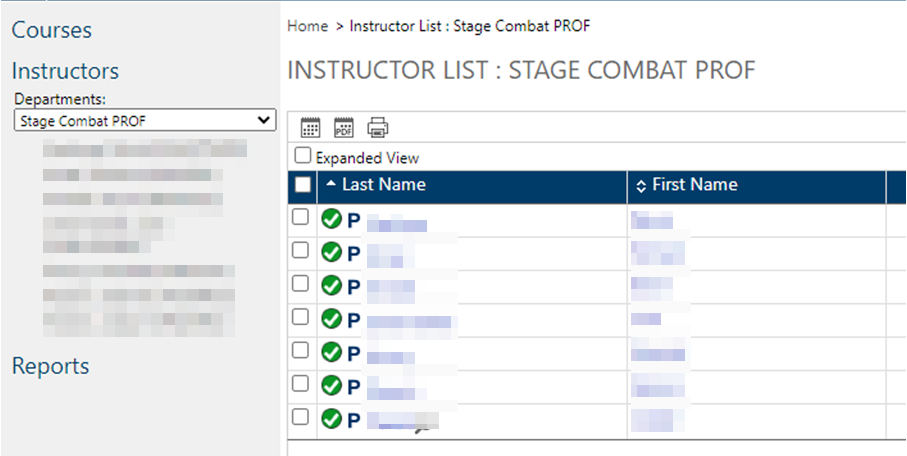
- Click on the name of the Professor you want to assign courses to.
The professor’s profile will open up and you will be able to see the Deliveries assigned to them and the unavailable times they have submitted.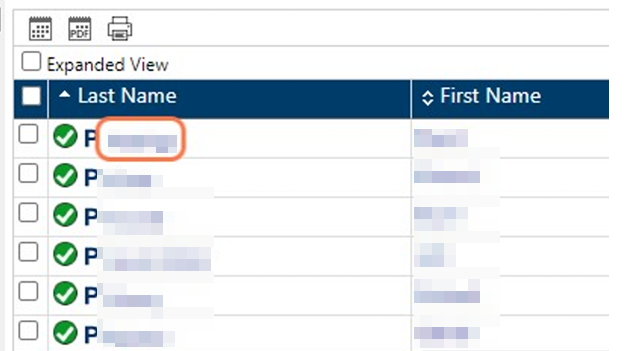
- Go to the Deliveries section and click on the + sign.
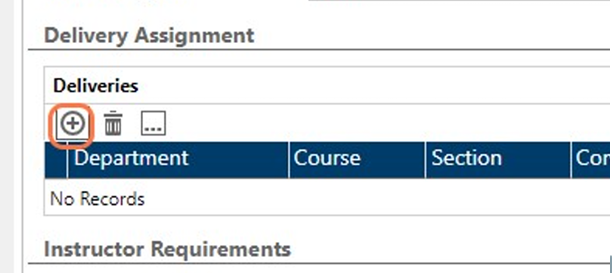
- Select the Department of the classes you are assigning to the professor.
In this new window, you will be asked to select the department where the classes you are assigning live in. In this part, you will also see the departments with the word “PROF” at the end. These are the departments where the professors’ profiles live, so we won’t use them in this option. Instead, select the ones without the work “PROF”.
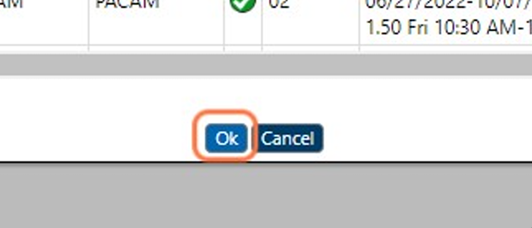
- The courses will show up in a list. Select the check mark of the courses you want to assign.
IMPORTANT
You must select all deliveries that pertain to a section. There are the same number of deliveries as times a class meets per week|
In this example, the C1A section takes Stage Combat twice a week, so you can see there are two deliveries or instances that say C1A.
- Click Ok.
- Once you have assigned all the courses and deliveries to the professor, click Save.

- Without leaving the professor’s profile, on the Deliveries section click on More …
IMPORTANT
Every teacher needs a special characteristic called Primary or Secondary. This is a crucial step because this is what will give different permissions in Canvas and Campus Vue. The Primary teacher is the one who will “own” the Canvas course and will have the availability to input attendance. The Secondary teacher has access to Canvas but cannot enter attendance. So, for example:
Accompanists: They will always be secondary professors.
Stage combat: There will be one Primary teacher and one or more Secondary.
Dance for Camera: One Primary teacher and one Secondary.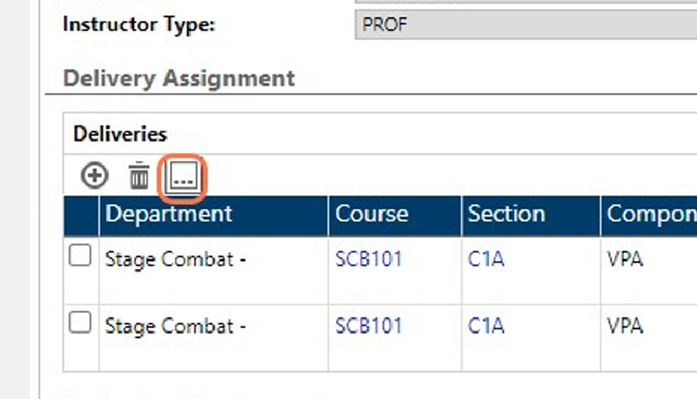
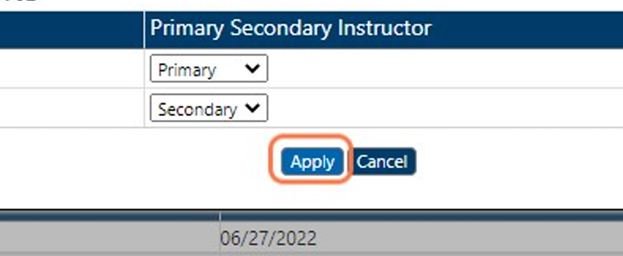
- A window will pop up showing all the professors assigned to each section and each delivery.
Select the characteristic that pertains to the professor in each class.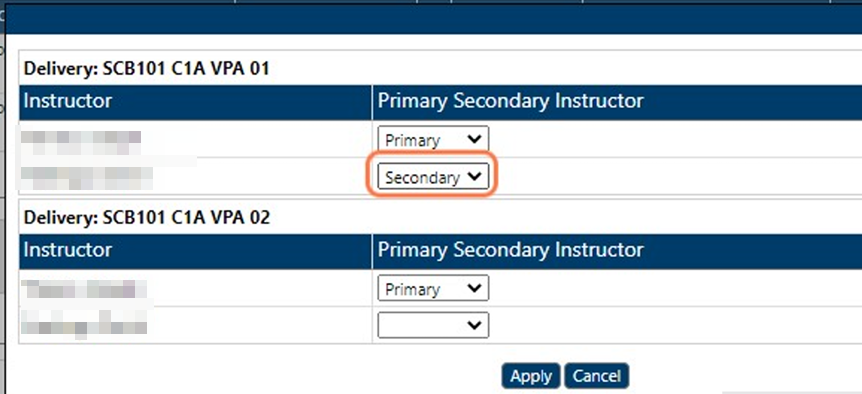
- Click Apply.
- Click on Save.
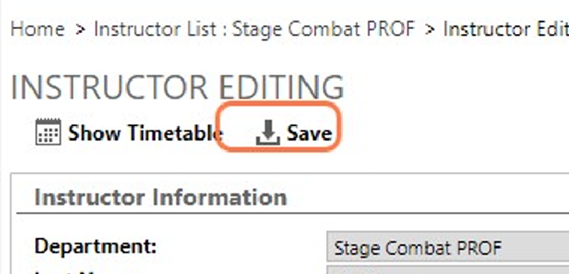
- It will let you know that it saved your work successfully.